Post by Ella on Nov 19, 2011 8:29:45 GMT
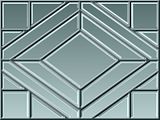
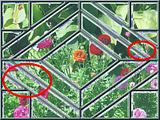
We will look how to make stained glass panels like this:


You can use any existing stained glass pattern but it isn´t hard to make own too, I usually like to use different fonts for that.
On these 3 I used Rosegarden, Knots and Line Dings fonts.
------------------------
You will need following plugins:
- Mirror
- Drop Shadow, Object Align
- AA´s Assistant
- MultiColor Gradient
- Bevel Selection
------------------------
First step is to make the grid.
For this tutorial I used Line Dings font and Mirrored it different ways.


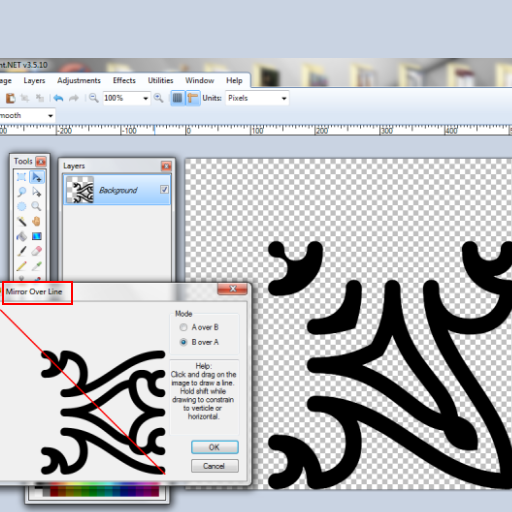

As a finishing touch add a frame and some extra lines with rectangle and line tools.
You should end up with something like this:

------------------------------------
Now the second part is to fill the gaps with different gradients.
You can do it manually by picking colors and drawing gradients by hand.
(Don´t worry if you get some single pixels near the grid not filling with color, we will fix this later. )
But you can also select several pieces same time and use Multicolor Gradient like I did here:
- add a new layer for gradients
- select areas you want to fill on grid layer with magic wand
- move to the gradients layer
- run Multicolor Gradient, alternating colors, random colors
- deactivate selection
- select new areas you wish to fill on grid layer
- move to gradients layer and repeat, click random colors button until you are happy with colors it offers
Repeat this until all the areas are filled with gradients.


Move the grid to the top layer.
This is what you should end up with, one layer with the grid and the second where gaps are filled with different gradients:

----------------------------
Now to add glassy effect.
Duplicate layers till you have 3 gradient layers, make 2 invisible.
Work on the middle gradient layer.


Make the bottom layer visible again.

Now make the 3rd layer visible and run Frosted Glass, when done play around with layer blending modes and opacity.


------------------------------------
Add some sunlight and light effects by adding 2 layers, one with yellow tones and other with white, blur and adjust the layer blending modes and opacity to your liking.


-------------------------------
Now add some finishing touches to the grid, you can add a metallic look or overlay to it or whatever you wish, here I used simple Bevel and Drop Shadow.
Good tip before starting to work with the grid is to outline it a bit, then it covers single pixels which were not filled before with gradient.

Select the grid with Magic Wand.


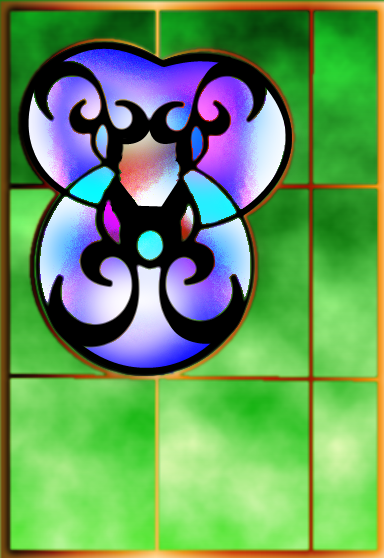
This is the outcome of the tutorial:

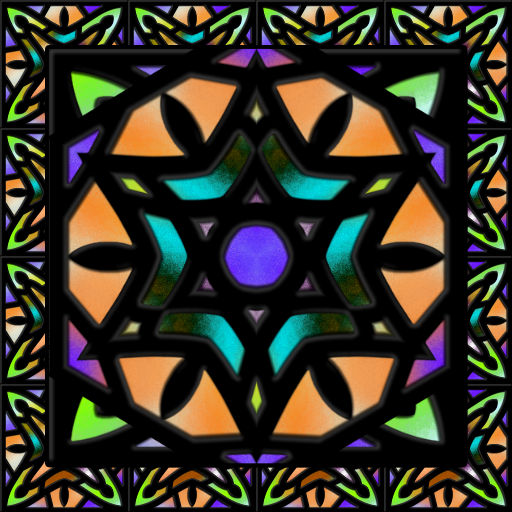
With some color adjustments and using of Tile Image and Kaleidoscope you can easily turn it into something like this:


You can use any existing stained glass pattern but it isn´t hard to make own too, I usually like to use different fonts for that.
On these 3 I used Rosegarden, Knots and Line Dings fonts.
------------------------
You will need following plugins:
- Mirror
- Drop Shadow, Object Align
- AA´s Assistant
- MultiColor Gradient
- Bevel Selection
------------------------
First step is to make the grid.
For this tutorial I used Line Dings font and Mirrored it different ways.


As a finishing touch add a frame and some extra lines with rectangle and line tools.
You should end up with something like this:

------------------------------------
Now the second part is to fill the gaps with different gradients.
You can do it manually by picking colors and drawing gradients by hand.
(Don´t worry if you get some single pixels near the grid not filling with color, we will fix this later. )
But you can also select several pieces same time and use Multicolor Gradient like I did here:
- add a new layer for gradients
- select areas you want to fill on grid layer with magic wand
- move to the gradients layer
- run Multicolor Gradient, alternating colors, random colors
- deactivate selection
- select new areas you wish to fill on grid layer
- move to gradients layer and repeat, click random colors button until you are happy with colors it offers
Repeat this until all the areas are filled with gradients.


Move the grid to the top layer.
This is what you should end up with, one layer with the grid and the second where gaps are filled with different gradients:

----------------------------
Now to add glassy effect.
Duplicate layers till you have 3 gradient layers, make 2 invisible.
Work on the middle gradient layer.


Make the bottom layer visible again.

Now make the 3rd layer visible and run Frosted Glass, when done play around with layer blending modes and opacity.


------------------------------------
Add some sunlight and light effects by adding 2 layers, one with yellow tones and other with white, blur and adjust the layer blending modes and opacity to your liking.


-------------------------------
Now add some finishing touches to the grid, you can add a metallic look or overlay to it or whatever you wish, here I used simple Bevel and Drop Shadow.
Good tip before starting to work with the grid is to outline it a bit, then it covers single pixels which were not filled before with gradient.

Select the grid with Magic Wand.


This is the outcome of the tutorial:

With some color adjustments and using of Tile Image and Kaleidoscope you can easily turn it into something like this:





 "]
"]





 .
.

 "]
"]
 . Thanks for sharing
 And the nice borders. I keep wanting to do this tutorial but every single time I wind up adrift ...