|
|
Post by TheBad1 on Jan 11, 2011 23:24:09 GMT
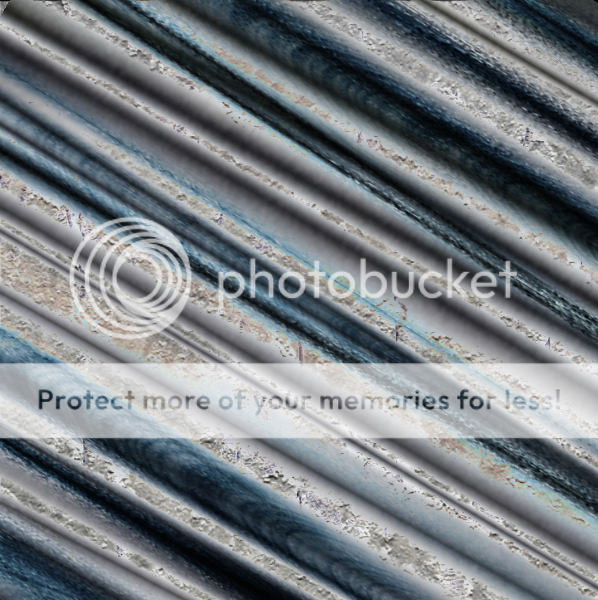
This tutorial will show how to make this: *** This tutorial owes a lot to the tutorials of other people, and I'll post credit on the relevant steps *** The first step is to make a wood texture. I've done it a bit differently, but all credit goes to Drakaan for planting the seed in my head ...    Merge both layers together Merge both layers togetherOn a new layer above your finished wood texture     [/u][/b] who's concrete tutorial is ever present one way or another in most of my work[/center] In the interests of keeping the tut here relatively short ... follow the steps as laid out by Chad in the above link Then follow the steps below: And you're done.
A huge thanks to the tut writers I've named. Plus all the Plug-In writers and Developers who make it all possible Play around adding textures, playing with blend Modes, some I made using some of my old textures The following image (and subsequent others which most probably won't see the light of the internet) was (were?) made by adding 4 more layers of the textures in the tut' Playing with Blend Modes, clouds of various rust colours and a few other plug-ins. Play around and experiment. There could always be a little gem worth keeping amongst all the false starts  |
|
|
|
Post by beyondredemption on Jan 16, 2011 14:29:34 GMT
This is so cool , tried it but unfortunately it didn't quite turn out the way it's supposed too i got something else instead , I didn't have to classic version of Dents so some of the parts didn't turn out then I went off on my own and got something strange , faces on a pole . I see a monkey and Alien all ontop of a skeleton wearing a frog hat , lol Attachments:
|
|
|
|
Post by oma on Jan 27, 2011 17:11:32 GMT
loveeeeeely! now I can finally make some proper wood instead of just faking it. . Thanks so much Welsh!  see you make me so happy! ciao OMA |
|
|
|
Post by Goonfella on Mar 10, 2011 22:59:12 GMT
This will come in real handy for my furniture textures in Sketchup. Thanks Welshy.  |
|
|
|
Post by lancemcknight on Mar 11, 2011 0:26:50 GMT
Advice, Goon, have two copy for the bump map, first the regular image, and another one with normal map in black and white. That will add to realism.
|
|
|
|
Post by Goonfella on Mar 11, 2011 6:30:09 GMT
Thanks Lance, I`ll keep that in mind. |
|
|
|
Post by blanco111 on May 28, 2011 5:36:10 GMT
I enjoyed doing your tutorial and am happy with my results. How can I avoid the white on the wood (top right and bottom left)? Is the "crumpled" layer the same as the "crushed metal" you refer to in the pdn download? (I thought you couldn't send unflattened pdn tiles over the internet.)  Thanks for offering us this tut. |
|
|
|
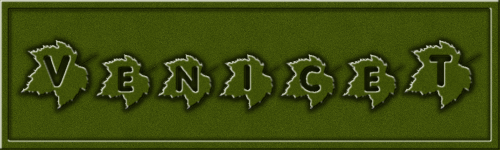
Post by venicet on Aug 5, 2011 7:44:11 GMT
Thanks for another great tutorial WelshBlue. I appreciate all the hard work you did with your tuts so that people like me can learn and have fun doing so at the same time! I tinted the wood and made a frame for my photo albums. My paper scrapbooking is really being ignored, but at least some of the photos are going to get some decorating LOL 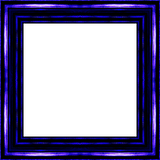 |
|
|
|
Post by TheBad1 on Dec 19, 2011 23:06:24 GMT
I'm very lax with replying to tutorials ... very nice results by everyone. BeyondRedemption ... that is so totally off the mark - it could possibly be a piss-take ?
|
|


 "]
"]